BuildEx Springfield Office

BuildEx Recently Relocated Into Their New Springfield Office

BuildEx would like to announce that they have recently moved to their new office.

The Springfield office is located at 143 Main Street, Suite #306, Springfield, MA 01105.  BuildEx relocated to the new Springfield office to better serve their clients.  The new location allows BuildEx to operate more efficiently and solidify their presence in Springfield and throughout Massachusetts.

BuildEx Construction LLC focuses on window replacement, door installation, finish carpentry and general construction.  BuildEx prides themselves on the ability to provide contractors with reliable and top quality work.

If you have any questions about your window or door project, or would like some information, contact us at 413-328-1778.

BuildEx Springfield Office
New window installation with PVC trim covering

Window Replacement Procedure: Valley View Apartments in Chicopee, MA

We recently were able to have a large window replacement job at the Valley View Apartments in Chicopee, MA.  This procedure was typical for replacement windows and window installation.  We have outlined some of the more major steps involved in the process to get you more familiar with what a typical window job entails.

Removal Of Old Windows

Old Windows Before Replacement

The very first thing that must be done is to assess the condition of the old windows designated for removal. Most of the time the windows will be deteriorating and letting in cold air – costing you extra heating bills during winter. Many of these windows are made out of wood and in time mold and other natural elements can cause the wood frame to break-down. In these cases it is best to fix the windows by installing a completely new window and adding a layer of PVC trim all around the frame – protecting and preserving the windows for many years to come.

Install New Wooden Frame and Windows

New window installed with new frame

Once the old windows are removed the next process involves making a custom frame for the specific window sizes and installing it into the empty space. After which you would position the brand new windows within the frame. This step is very important in ensuring that the windows are aligned properly and have been sized to fit perfectly into the new frame. This step involves custom carpentry and an experienced hand.
Skilled carpentry and window installation crew

Cover All The Remaining Frame with PVC Trim For Protection

New window installation with PVC trim covering

Including the PVC trim around the frame really makes a huge difference in how long your new windows will be effective. This small investment of time and money will insure you against having to make major changes for a long time to come.

Apply Caulking to Seal Up Window From Extra Space

Apply Caulking To Seal New Windows

By properly applying caulking you seal up any additional spaces between the window and frame effectively and add yet another layer of protection against drafts and weather. The proper application of caulking is not only a technical aspect but also an aesthetic process which can make the windows look much better to the eye if done right.

Enjoy Your New Windows!

New window, frame and PVC installation


installation_masters_logo

BuildEx Now An “InstallationMasters” Window Replacement and Installation Contractor

installation_masters_logo

BuildEx Construction, a leading window replacement and home remodeling contractor is announcing that it is now qualified by InstallationMasters for new construction, window and remodeling projects.

Everyone who is building or remodeling a house should know that, no matter how much they spend on top notch windows, the windows won’t perform properly if they’re not installed correctly,” explained Michael Krasnov, manager of BuildEx Construction. “Poor installation techniques can defeat the advantages of the product and result in air or water leaks, wasted energy or improper operation.

To qualify its installers as certified InstallationMasters™, BuildEx Construction sent them to an intensive two-day training course conducted by InstallationMasters™-accredited instructors. The installers had to demonstrate competency by passing a written test designed to assess the knowledge they gained during the training course. Once they passed the test, they became certified InstallationMasters™ installers.

Consumers can confirm that a window installer is qualified under the InstallationMasters™ program by asking to see his/her ID card, provided by the national program administrator upon successful completion of the exam.

The InstallationMasters™ Training and Certification program was developed by the American Architectural Manufacturers Association (AAMA), which BuildEx belongs too – a professional association of some 300 top residential and commercial window, door, and skylight manufacturers and suppliers, which has been recognized for over 60 years as improving product quality performance standards and installation methods in the window and door industry. Supported by the U.S. Department of Energy and the National Institute of Building Sciences (NIBS), the InstallationMasters™ program was launched nationally in 1999.

Home Construction Building

The educated consumer, in addition to looking for AAMA-certified windows as quality products, will also insist that these products be installed by certified InstallationMasters™ installers. Installed properly, windows are more likely to perform as they have been designed, tested, and certified to perform, with fewer frustrating service calls required to correct problems.

For more information about the InstallationMasters™ Training and Certification program, contact us or visit the InstallationMasters™ web site at www.installationmastersusa.com.

Window Installations

Window Home Improvements That Pay For Themselves

Christian Science Monitor Reports:

1.) A typical window insulation kit runs about $15 and will work on five windows. And it will easily pay for itself over the course of just one winter. What are the savings?

Estimate saving of $20 per window, or $100 total.

2.) Energy Star forecasts big savings on replacement windows that earn its certification. What are the savings?

You’ll save anywhere from $126 to $465 a year for an area covering 2,000 sq. ft.

Read More

“Energy savings is certainly on a lot of people’s minds as Winter 2014 has kicked off in fearsome fashion across the United States. Yet savings know no season, and are sometimes affected by a timeline of when energy investments will have paid for themselves. Unfortunately most products don’t come with this information clearly stamped on the box, but that’s where we come in! Here we examine seven popular product categories to see how long it might take before you realize any returns on investments.

Plastic Window Wrap

plastic-window-insulation

Taping up your windows isn’t kind of home accoutrement that will win you any awards from Architectural Digest, but some people

swear by plastic window wrap as a way to keep energy costs down by keeping the cold out. It’s a simple fix, too: by putting plastic film over a window (and this works best for older windows), you cut down on the heat loss through the pane. This does nothing to control heat loss through a low-quality frame, though.

Payback Time: A typical window insulation kit runs about $15 and will work on five windows. And it will easily pay for itself over the course of just one winter. Josh Peterson of TLC’s How Stuff Works estimates you’ll save $20 per window, or $100 total.

Replacement Windows

Wrapping old windows is just a temporary fix for the larger issue of replacing your windows. Depending on how drafty your living space you may want to consider upgrading from single-pane windows, especially if you’re getting clobbered on your energy bill. The trouble is, replacing your old windows isn’t cheap. Homewyse.comestimates it costs between $2,673 and $3,550 to upgrade eight mid-level windows, including installation. Is there any hope of seeing through to a payback?Window Installations

Payback Time: The good news here is that the Energy Star forecasts big savings on replacement windows that earn its certification. You’ll save anywhere from $126 to $465 a year for an area covering 2,000 sq. ft. On the downside, it could take roughly 10 years before you’ll see a payback. The long timeframe, though, is mitigated by an immediate increase in comfort and visual aesthetics to your home. And if you’re handy enough to install your own windows, you could cut the up-front costs by at least 25%.”

Source: http://www.csmonitor.com/Business/Saving-Money/2014/0114/7-home-improvements-that-pay-for-themselves

Replacement Windows Brick Wall

Easy Tips For Covering Your Windows!

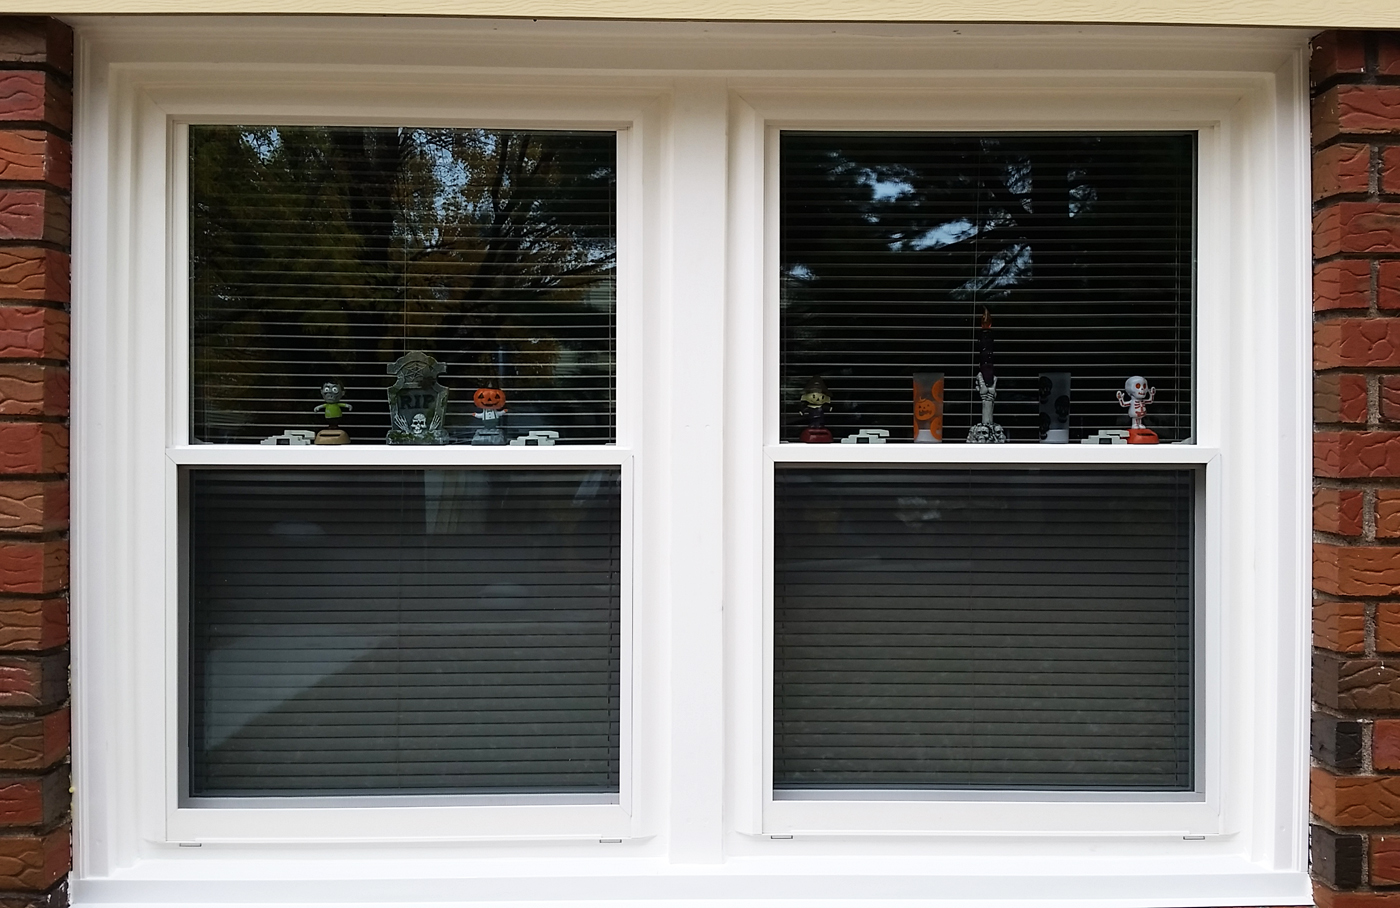
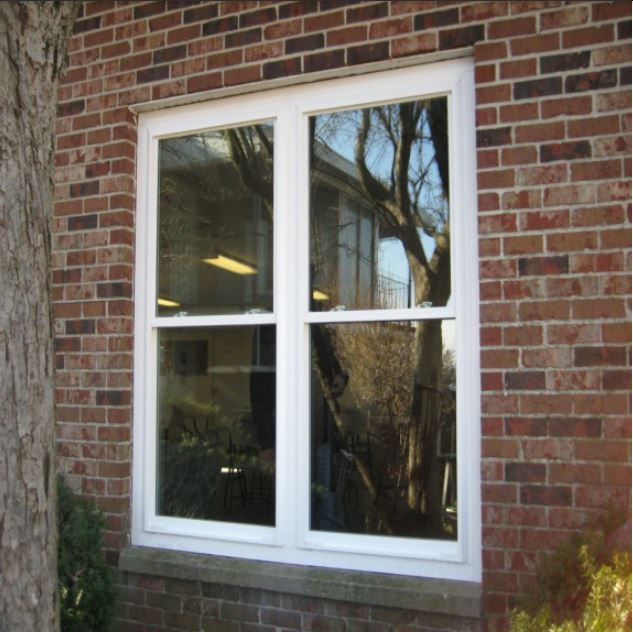
We all have windows, and they are designed to let in air and sunshine. But we also need to cover those windows sometimes to keep the air and sunshine out — not to mention for privacy. There are some simple solutions, and we have some super tips for measuring and installing window coverings.

There basically are two ways to cover your windows: You can mount the window coverings inside or outside the window frame.

An inside mounting usually will let in light around the edges, but will let you add drapes if you want. When you measure the windows for this type of mounting, measure it at the top, from the widest part of the inside frame, in the middle and again at the bottom of the window. Then do the same thing with the height. These measurements are critical for this type of mounting, so make sure they are correct before shopping. Also, you will need to check the mounting brackets to make sure they will fit, too.

An outside mounting means the window covering will cover the window and frame, so little light gets in. It also allows for a little more error in measuring. Measure the width of the window, including the frame, and then add 1.5 to 3 inches on each side. Do the same thing for the height.

When you have all of your measurements, you can start shopping. If you can find standard-size window coverings to fit your windows, you usually will save money.

There are some cut-to-fit blinds and shades. These are pretty easy to use. There also are some great deals online, even if you need to have your window coverings custom-sized.

Use good wall anchors. If the ones that come with your window coverings don’t look sturdy enough, buy better hangers at your hardware store. If you use good hangers, they will stay up forever. Don’t forget to use a level, too.

Some inside hangers are held in place by springs, which means there is no hardware installation. These work only if they are a good, tight fit. You don’t want them falling down every time you raise or lower the covering.

Having the same window coverings throughout the whole house will look better than having something different in each room.

Working comfortably

Working while on your back usually is not very comfortable, especially when you are in the dirt under your house in your crawl space. Try an inflatable swim raft to make things more comfortable. The raft might not survive the ride, but it will make the work a little more tolerable, and a cheap raft will only cost you a buck or two at the discount store. You just might be so comfortable you’ll decide to take a nap. Probably not, but at least you can get the job done!

Use old golf bag

We always use a golf cart these days when golfing, but we also try to recycle things we no longer need. An old golf-club bag placed in a wheeled carrier makes a great yard caddy. Fill that old golf bag with yard tools like rakes, hoes and shovels, and wheel it around your yard as you work. Your tools will be super handy, and you’ll love the ease of it. You even can stuff work gloves, seed packets and other smaller items into the pockets of the golf bag. When you are finished working, just wheel it into the garage or shed, where it will be ready to go next weekend.

Super hints

• If you think you might have missed a few gaps around your windows or doors, do the incense test. Light some incense and hold it in front of the areas where you think the leaks are, and you will see the smoke move very quickly if there’s a leak. Then you can fill those gaps when you get a chance.

• If your water heater is located in the attic, garage or basement, then wrapping it in an insulating blanket made for your water heater can keep it warm longer and save you money on your utility bills. These are available at your home center and will pay for themselves in just one season for most folks. They are easy to install, too.

• If you are tiling a floor and don’t want to buy a ton of plastic spacers, or just want a smaller gap between the tiles, use a penny. They are easy to use, easy to remove and cost, well, pennies!

Q. I am having a problem with my clothes dryer. It turns off before the clothes are dry. It does heat up, but it just shuts down too early. Can you give me a few things to check before I call someone in to fix it?

A. The first thing to check is the exhaust duct. These can be clogged with lint and can cause the dryer to overheat when it’s running, which will then cause it to shut down or catch fire. Check your hardware store or home center for a flexible tool that will clean out your ducts, and see if that takes care of the problem.

Q. I am trying to finish out my basement so we can use it as a family room. Currently the walls are just the standard concrete block. I plan to install wood paneling. What do I need to put between the concrete lock and the paneling?

A. You need some type of vapor barrier between the concrete and the paneling to prevent moisture problems. This can be just a sheet of plastic as long as you tape each piece to the next one. You might also want to add some foam insulation panels behind the paneling if you need more insulation. Make sure you let the paneling acclimate to the room for several days before you install it, and give it room to shift a little as well.

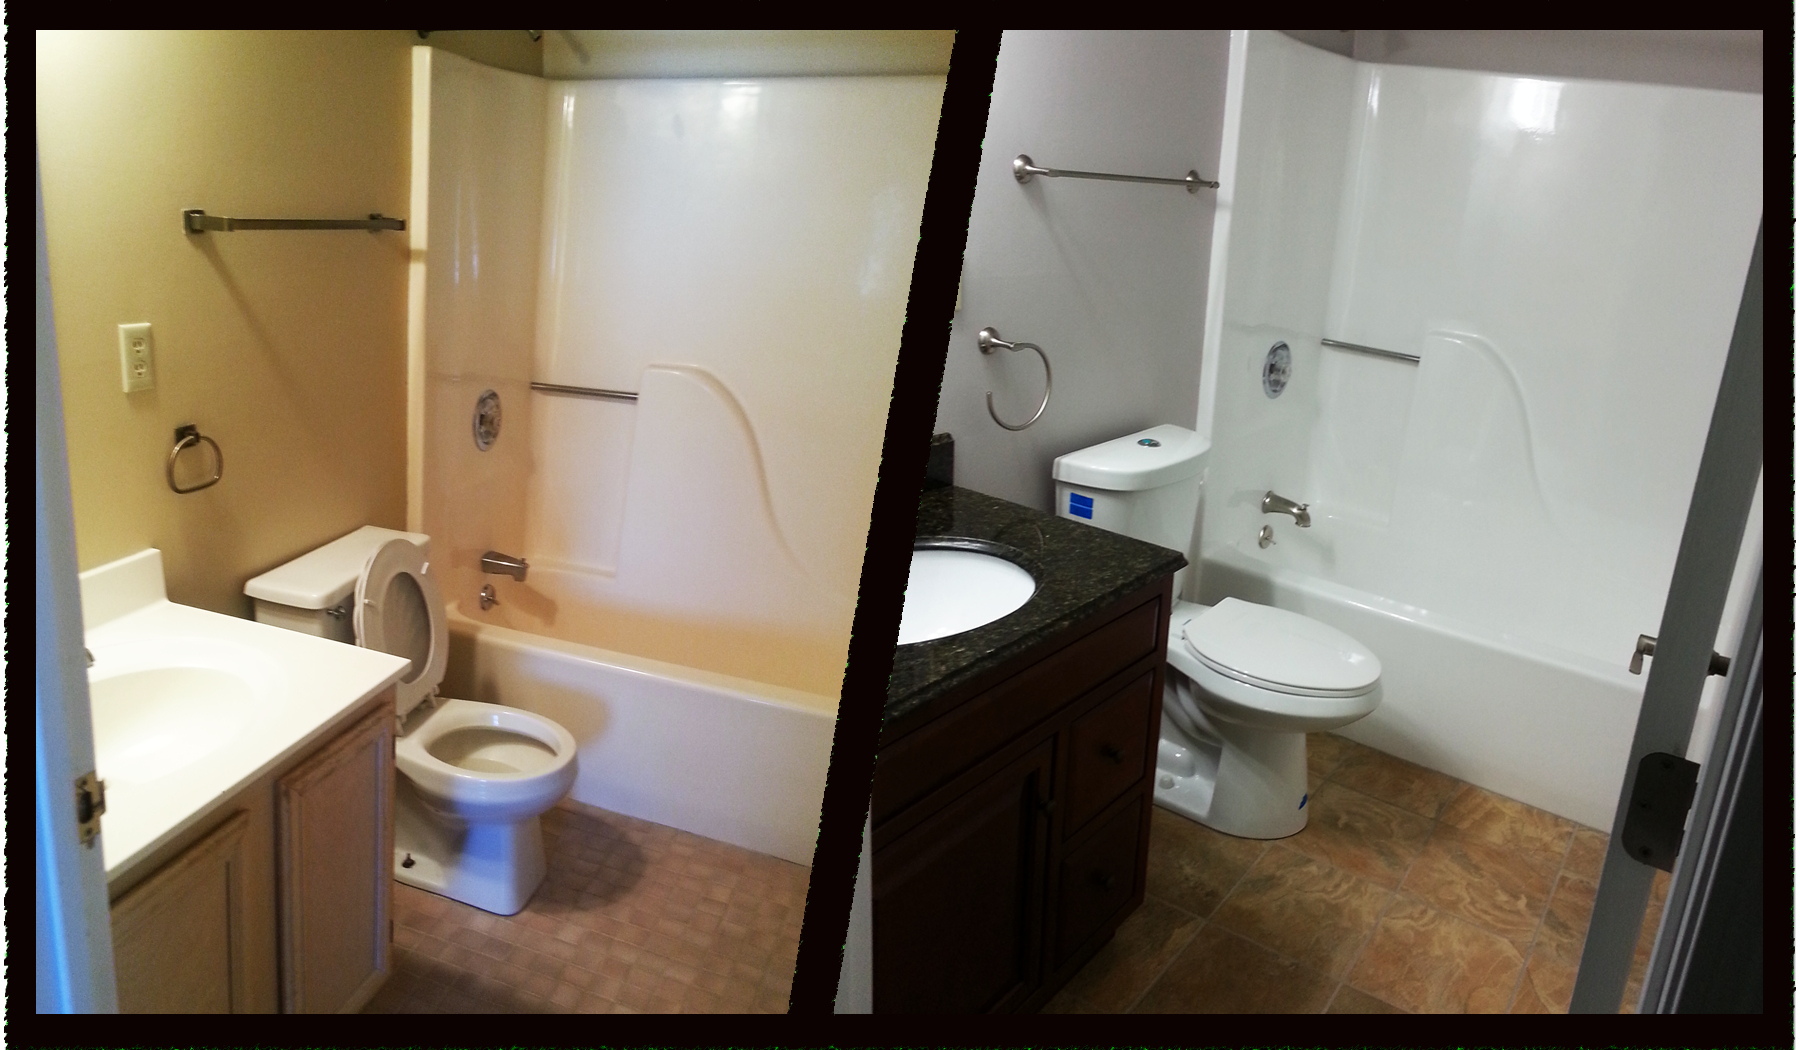
Q. I want to paint my bathroom walls but they are made of some type of vinyl. What type of paint should I use?

A. Scuff-sand the walls to take the gloss off them. Then use a primer and paint. The glossier the paint, the easier it will be to clean later on. If you have the option of adding a mildewcide to the paint, do so to inhibit mold and mildew.

Reader tips

• I had to remove the housing on my lawn mower to make some repairs, and I had two very stubborn screws. I guess they had just been in place too long and maybe got a little rusted. I tried just about everything I could think of, but nothing would work. I finally got my soldering iron out so I could hold it on top of the screw to heat it up. It worked on both of them! Thank goodness!

• We have a closet in our garage that is great for storage but was always a hassle to get in and out of because of the doors. I took the doors off and converted them to sliding doors. Now I can get into the closet more easily and we don’t have to back the cars out to do it. These “pocket doors” really are neat. I may have to add some indoors, too.

• I bought a large bucket of glossy white paint and decided to paint my workshop with it. Wow! It made a huge difference! Now I can see so much better. The white, glossy paint reflects so much light, and sometimes I don’t even need to use the extra lights to see what I’m working on.

• Our refrigerator was not working like it used to. I finally called a repairman to fix it. It turned out that a mouse had gotten stuck in the fan and died, and was preventing it from turning. I was embarrassed for sure, but glad it was only a small problem. I should have looked a little closer when I was cleaning.

• I keep my sliding glass doors very clean since they offer the best view of the mountains near our house. But I have almost run into it a couple of times, and the worst was when my dog DID run into the door. I knew I had to do something, but I wasn’t really sure what I could do that wouldn’t mess up our view. I bought some very simple decals to place on the door at eye level for humans and pets. They are hardly noticeable to most people, but my dog hasn’t made that mistake again, and I don’t think I will have to worry about anyone else running into the doors.

Shoptalk

• Vinegar is one of those everyday household products that we all have in our homes. It has tons of uses there, as well as in the shop and even outdoors. It’s really inexpensive and can save you money in many cases. We have put together a list of some of our favorite, tried-and-true uses for the stuff. You also can get this information, as well as a lot of other interesting tips, on our website at www.thesuperhandyman.com. We hope to hear from you soon. Have a super day!

• Black & Decker’s new Gyro Screwdriver is a super little tool that every homeowner will really get a lot of use out of. Its compact size means you can keep it handy inside the house or in your toolbox. It has an onboard LED light to help you see what you are working on, even in a dark closet or under your sink. The gyroscopic feature allows you to change the direction and speed of the screwdriver by repositioning your wrist. A lithium battery keeps a charge for a long time (up to 18 months) so you won’t be without it when you need it. To see it in action and learn more, visit www.blackanddecker.com or at your favorite home center or hardware store.

• E-Z Fuse Tape is made by the SuperGlue folks, so you know it’s going to take care of your glue repairs. Its bond is permanent and stays flexible while on the job. It’s waterproof, nonconductive, insulating and weather-resistant. You can use it on garden tools, sporting equipment, automotive repairs and lots of other things. It’s available in several sizes and colors, and it’s super easy to use. Check it out at your home center or hardware store, or online at www.supergluecorp.com.

Article was taken from https://www.dailyherald.com/article/20131206/entlife/712069977/

thanksgiving

Have a Happy Thanksgiving Holiday

thanksgiving

On behalf of BuildEx Construction LLC,

the leading windows & doors replacement and installation contractor in Western Massachusetts, we would like to wish you and your family a Happy & Safe Thanksgiving.

In this 2013 season we are exceptionally thankful for all the business and support we have received from our clients, partners, suppliers, friends & family.  

We understand that it has been a very difficult season for many individuals and businesses alike.  Which is why we have a lot to be thankful for this year.  We have been blessed to continue serving in and around Springfield, MA but also around the entire Western Massachusetts area as well as Massachusetts & Connecticut and we are looking forward to the coming years ahead where we can continue to be the trusted windows & doors specialists in our area.  

We love our job.  

And on a daily basis we seek out opportunities to show our work ethic and character to gain your trust.  If your looking towards getting your windows and doors replaced or freshly installed give BuildEx Construction a chance.

We are also thankful for each current and past client and partner that we have gained over the years.  We seek to grow in our success with you and be a company you can depend on.

We are confident that you will be absolutely happy you had considered BuildEx Construction in the past, present and/or future to assist with your windows, doors, carpentry, flooring and remodeling needs.  


Build next with BuildEx!


If your interested in our services and would like to get a free estimate, we welcome you to take advantage of our Christmas Special by clicking below and getting a 10% holiday discount!


Holiday Savings


About Us | Free Estimate | Services | Testimonials | Gallery | Blog | Contact Us


Call us today   –   413-328-1778


stucco1

Exterior Stucco Fin Now Available!

One of our top-line suppliers, National Vinyl, now offers an optional Exterior Stucco Fin.


This is field applied on the exterior of the window and can have a butt joint or 45 degree cut at the corners. It fits secure into ouraccessory receiver area of the window.

The fin is 1 3/4” x 11/32” and is available in white.

It is ideal for brick opening installations where a replacement window is being installed and there is a portion of the existing framing exposed beyond the brick. (click on image to expand)


The Stucco fin can be cut to less than the 1 3/4” wide.  It allows for a rot free, no maintenance exterior finish for your construction project.

Please contact our office or your BuildEx Construction representative for a sample and pricing.

We will be glad to offer this option.

Another example of how BuildEx Construction is invested in offering you the best materials and services available in Massachusetts and beyond.

stucco1stucco2


BuildEx at your Service

One of the single most important decisions you can make for your commercial building is the type of windows and doors you choose. If your project resides in the greater Northeast of the United States, your decision can be a whole lot easier, because BuildEx gives you advantages before, during and after construction.

A BuildEx representative will meet with you to help you choose the right style, type and price level of your windows and doors for your project.  But it doesn’t end with windows and doors, here is a full list of services and work that we can do for you.

  • Windows
  • Aluminum Windows
  • Historical Windows
  • Doors
  • Siding
  • Finish Carpentry
  • Remodeling
  • Home Exterior
  • Kitchen
  • Baths
  • Decks
  • And more

After the initial heavy work is completed, we will make sure that you are completely satisfied with our customer-first approach to business.  We will do whatever is in our ability to satisfy your project needs and wants completely.

Besides working with individual customers, BuildEx prides itself on its ability to service top-contractors in the region to provide them with reliable and top-quality work.  We have great experience with a diverse set of construction projects and environments with success.  You can trust us with your projects, including;

  • Multi-Complex
  • Multi-Unit
  • Occupied/Inhabitied
  • Commercial
  • And more

 Build next with BuildEx!

3gallarylogo

The BuildEx Difference: Before/After Comparisons!

You will love what you see, the BuildEx difference! We are showcasing only a few of our remodeling projects for windows, doors, finish carpentry, siding and more but we have plenty of work experience behind us to show for. Click on any picture as it will open up a gallery that you can easily navigate through. We are proud of our work, and its our job to bring that pride to you.

BeforeAfter copybeforeafter7 copy beforeafter6 copy beforeafter5 copy beforeafter4 copybeforeafter3 copy beforeafter2

Window Installation Photos

Premium Window Installation Photos

Here you can catch a glimpse of some of our latest premium window installation projects. As you can tell we have a wide array of experience working with residential windows, to multi-unit housing complexes and of course, customized and special window arrangements. If you have any questions about our ability to do your project or window type, do not hesitate to get in touch with us HERE  so we can give you a free estimate and project plan.

20130406_151613 20130406_113935 20130110_122718 Novemebr 2011 037 Novemebr 2011 035 IMAG0402 From the camra 2012 078 From the camra 2012 077